- 4 min to read
How to center an element in CSS without adding a wrapper in HTML
Ever wondered how to center elements in CSS without the hassle of extra wrappers? Two lines of CSS are all you need! Explore use cases, learn when to apply these techniques, and get familiar with auto box sizes.


By Mojtaba Seyedi


Getting elements centered in CSS has always been a bit of a puzzle, hasn't it? There are loads of blog posts out there talking about using Flexbox or Grid to nail that centering, but it usually means adding a wrapper around your elements. In this article, I want to take a different angle. I'll walk you through how to center an element without that extra wrapper and without fiddling with Flexbox or Grid. And guess what, it's just two lines of CSS!
Using display table
Around 9 years ago, I read an article on using display tables in CSS. I suggested this trick to the author, and they added it to the post. If you enjoy learning about weird CSS tricks, give it a read – it's a good one!
This technique is very straightforward! You just need to assign your element a display property with the value table. After that, set its inline margin to auto.
This snippet centers any element within the normal flow. Remember, it only applies to the regular flow – not elements with absolute or fixed positioning. Plus, it only centers things horizontally.
Using the max-content keyword
To center an element, we rely on making the auto margin to work. But when does is actually work?
It kicks into action when the browser knows the size of our element. At that point, it divides the remaining space equally as margins on both sides of the element. When you add up the element's width and both margins, it matches the size of the element's parent, considering the padding and border of the element as well.
However, we often prefer the element's width to be flexible rather than a fixed value like 300px. Hard-coded values can be quite fragile.
Here is where the keywords like min-content, max-content, and fit-content come in handy. These sizes are computed automatically and give us that dynamic value that we want. They also work across all modern browsers.
So, if you set an element's max-width to max-content and then apply margin-inline: auto, it does the trick!
What are min-content, max-content and fit-content keywords?
Let me break down these keywords for you using a simple analogy. Imagine different types of parents to help remember what each keyword means:
max-content- think of this like really indulgent parents who give you all the space you want, even if it leads to problems. So, if an elements have too much text, it will overflow and not fit properly.min-content: - is like very strict parents, giving you only the bare minimum space to just get by.fit-content: on the other hand, is like reasonable parents. They'll give you as much space as you need as long as there is no negative consequences.
Here is a demo for you to compare these three keywords together:
Should we use width or max-width?
I suggest using max-width whenever possible. It's a more flexible and less fragile choice compared to using width alone.
When you use max-width, you can opt for max-content instead of fit-content. With max-width, we're not fixing an exact size for an element; instead, we're setting a maximum limit. This way, the content won't overflow, and it can wrap into multiple lines if needed.
Use Cases
Buttons
These methods work well with buttons. Because buttons usually have short text, we don't have to worry about setting a specific maximum size.
By using max-content as the max-width, we can easily center any button.
Left-aligned lists
Here's another practical example, centering a left-aligned list like this:
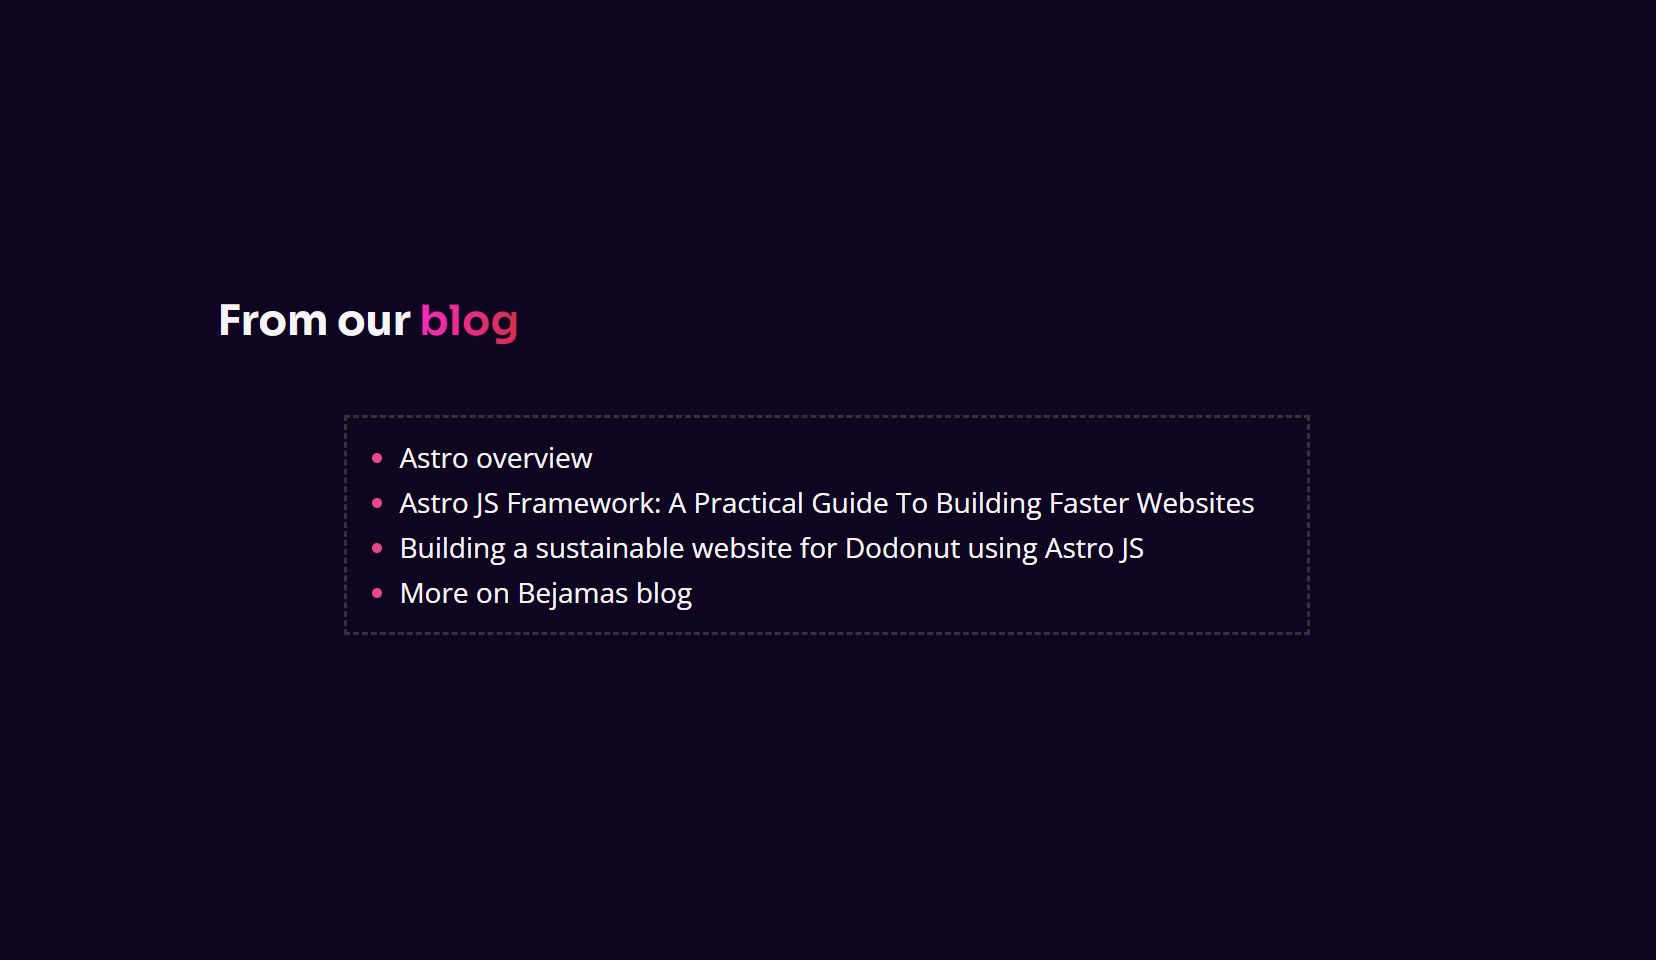
If I want my list to be centered, applying a text-align to the <ul> element centers the text too, which isn't what I'm aiming for.

My goal is to keep the text left-aligned while centering the entire list. That's where our method for centering the list comes in handy.
By the way, I came across this use case on Eric Meyer's blog post.
Boxed-in components
Check out this pagination. When we use Flexbox for something like this, the easiest way to center it, is using the justify-content property. But what if we want our component to have a maximum size with a background or a border around it?
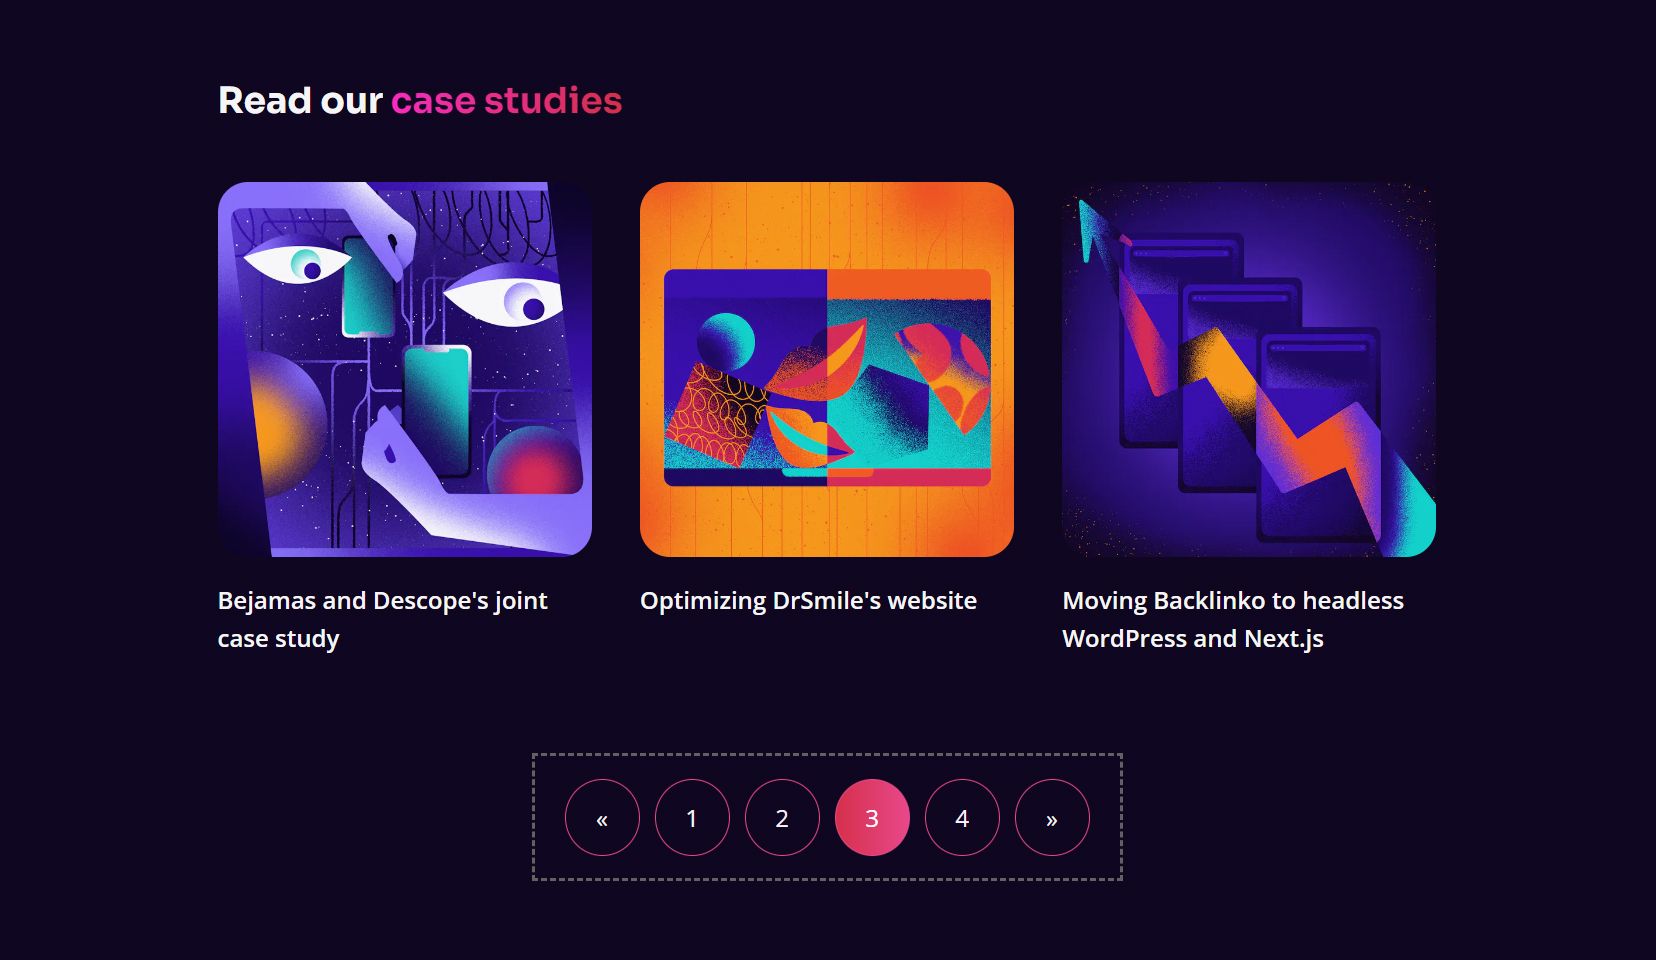
In that case, do we need to add another wrapper? One for centering and another one for the Flexbox layout? No!
Especially for a pagination, we know it won't have much content, and it's risky to just give it a fixed width. There might be changes in the future, like font changes, that could break it down. So, instead, we can use the display table technique. However, since we need the display property to be flex for its layout, using max-content for its max-width is the best choice here.
Fast debugging and testing
Another benefit of learning these techniques is for testing UI changes. For instance, if I want to quickly see how a part of my footer looks when brought to the center using dev tools, adding a wrapper would be inconvenient. Instead, these two techniques can easily help me getting it done.
When to use and when to avoid
This technique won't work for the block axis because the height calculation operates differently, but that's a topic for another blog post. If you need both vertical and horizontal centering, stick to using Flexbox or Grid.
Avoid using this method when there is a lot of text involved. When the text gets very long, there's no maximum value to prevent it from stretching and we should control the number of words per line to improve readability.
Basically, use this trick when you're happy with how big your content is and you don't think it'll change much later on.
Why using this technique instead of adding a wrapper?
- Having less DOM in your document is always good. Often we add a wrapper element that has no other purpose except centering.
- There might be situations when you can't access a component's parent or even the HTML itself. Maybe you're using a CMS that only allows adding custom styles, but changing the HTML isn't an option.
- This approach simplifies debugging and testing UI changes. For example if you are using Tailwind, you only need two classes to get things done:
The video
Check out the YouTube video if you want to see all of this in action:
Conclusion
There's no single "best" way to center things in CSS. But the more techniques you pick up, the easier it gets to find what works for your needs.