- 21 min to read
Learn Modern React and Redux in 2023 by Building a Blog
Learn how Redux enhances JavaScript apps with organized and predictable state management. Master modern React and Redux techniques in 2023, building a blog.


Redux is a popular state management library for JavaScript applications. State management is very important in modern web applications. It controls what information is shown on the screen as a user interacts with the app. Basically, it keeps track of everything that is happening in the app and decides what to show to the user.
Good state management is essential for creating web applications that work well and provide a great user experience. Without it, things can become confusing and messy, and the user might not know what is going on. By managing the state of the application properly, developers can ensure that the user always sees up-to-date information and that everything runs smoothly. It makes the app more reliable and easier to use. In short, state management is one of the vital aspects of creating a successful web application. In order to effectively manage the state of a web application, developers use various techniques and tools. One common method is to use a state management library such as Redux.
Redux helps manage the state of an application in a more organized and predictable way. It provides a predictable state container for JavaScript applications. This container holds all application states in a central location, making it easy to manage and update.
What we are building
In this tutorial, you will learn how to create a frontend blog application with various features, including navigation, post creation, editing, deletion, upvoting and downvoting, and adding posts to favorites using React and the latest version of Redux Toolkit.
You can view the finished application by following this link: https://modern-react-redux-blog.vercel.app, while the GitHub repository containing the source code can be found at: https://github.com/bejamas/react-redux-blog
Prerequisites
In order to proceed with this tutorial, there are specific tools that you should be familiar with. Firstly, you should have a basic understanding of HTML and CSS. Secondly, it’s important to be familiar with the syntax and features of ES6. Additionally, having knowledge of key terms related to React such as JSX, State, Function Components, Props, and Hooks is essential. Lastly, it would be helpful to have experience with Type Annotations in TypeScript, as TypeScript is the language that will be used in this project. By having this foundational knowledge, you will be able to better understand and implement the concepts presented in the tutorial.
Setting up the environment
We will be using Vite to bootstrap this project. Vitejs is an ultra-fast and modern web development build tool and development server. It is built on top of modern web technologies such as ES Modules and leverages browser native support for ES Modules to enable lightning-fast development and build times.
Configure the project with Vite
Create a new folder called react-redux-blog and run the following command to setup the project with Vite:
You’ll be asked for the name of your project, simply type: ./ to use the name of the folder (react-redux-blog) that was created previously.
Next, you will be asked to “Select a framework”, use the arrow key to navigate to the React option, and press the Enter key.
Finally, you will be asked to “Select a variant”, select TypeScript, and press the Enter key.
Execute the command below to install React and all other dependencies that have been configured with Vite in the package.json file:
Once the installation is complete, you can run the following command to start your development server:
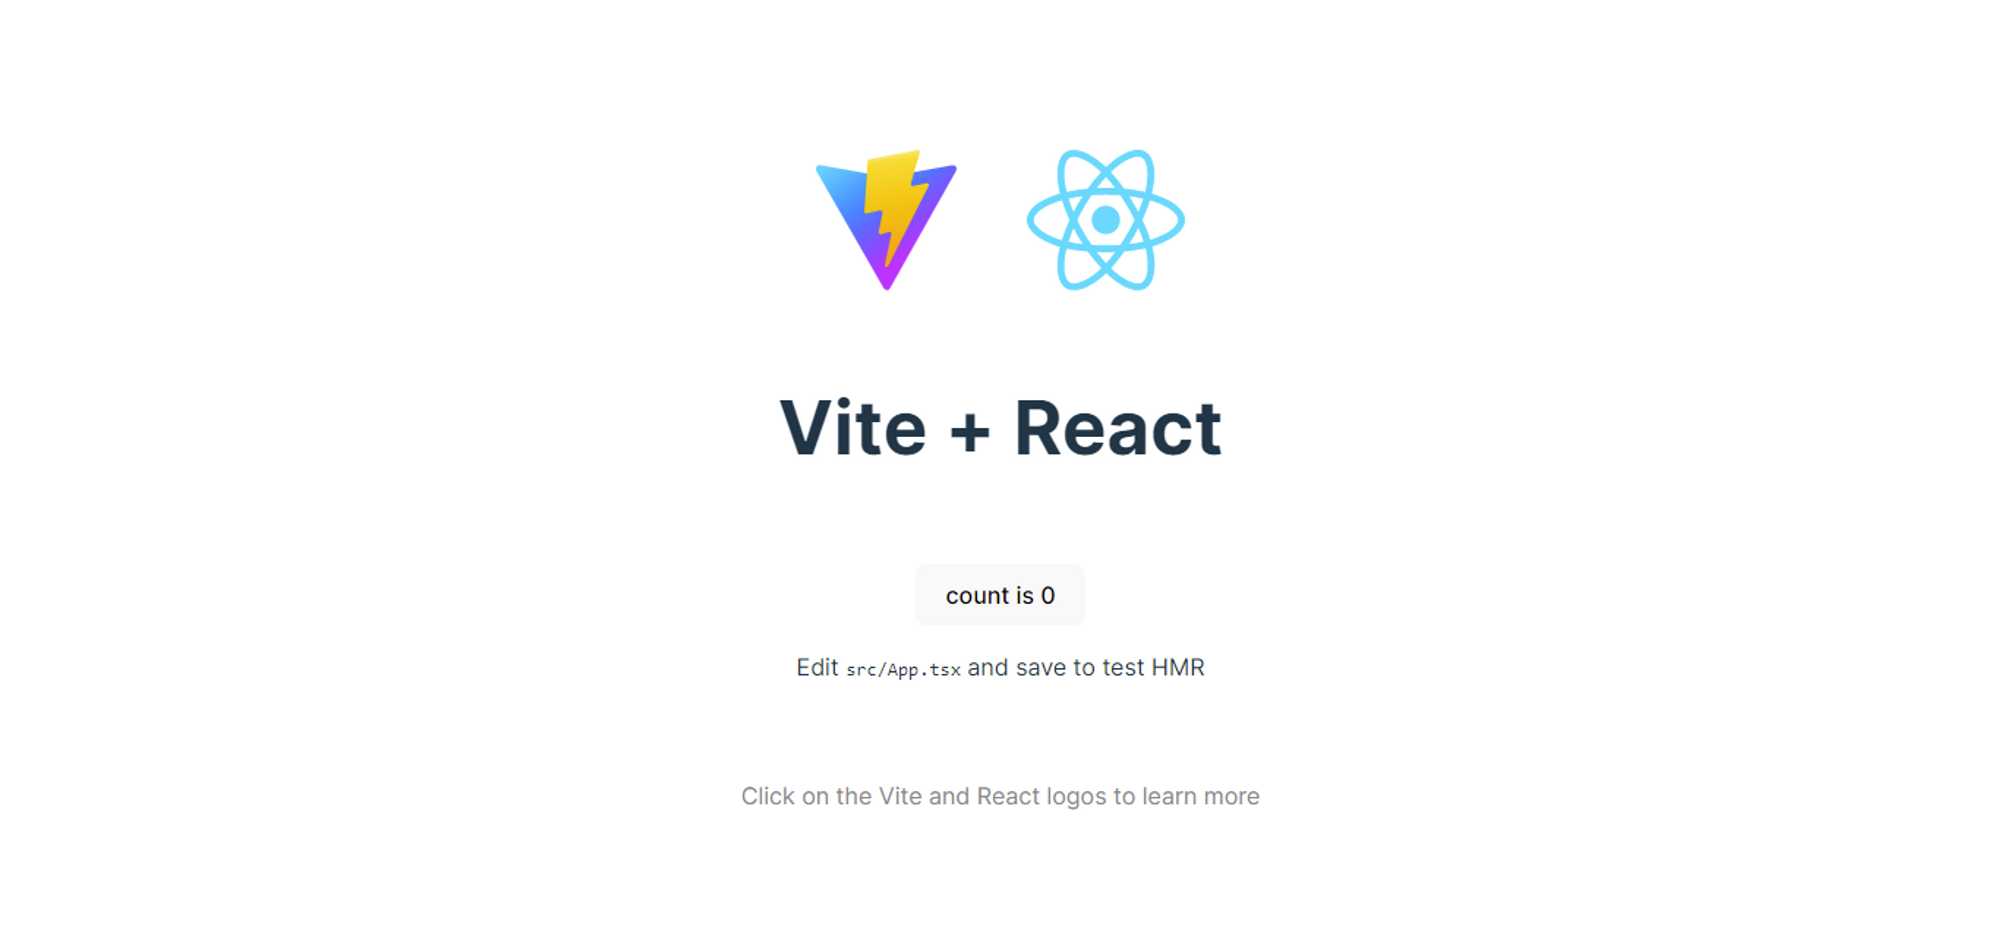
Now launch your browser and navigate to the following link: http://localhost:5174/.
You’ll see a page similar with a basic counter app that looks like this:
Redux Toolkit vs. Redux Core
Redux core is the original and old library for state management with Redux. It provides the core concepts such as Store, Actions, Reducers, and Middleware, but it requires more boilerplate code to set up and configure. Developers need to manually handle things like action types, action creators, and reducers, which can result in more code and potential errors.
Redux Toolkit (Also referred to as RTK), on the other hand is the new version of Redux and the officially recommended approach for writing Redux logic. It automatically generates action creator functions for each reducer and generates action type strings internally based on the reducer’s names. Redux Toolkit offers excellent TS support, with APIs designed to give you excellent type safety and minimize the number of types you have to define in your code.
Moreover, with RTK, you can write mutating logic without the risk of actual mutation. Its can help avoid unexpected behavior in your application. We will delve more into this later in the tutorial.
RTK will be used for building the application in this tutorial.
Installing the Redux Toolkits and React-Redux
The Redux Toolkit is composed of the Redux core, along with other essential packages like Reselect and Redux Thunk, which are deemed vital for developing Redux applications.
React Redux offers bindings that enable React components to communicate with the Redux store.
Run the following command to install both of them:
Creating and configuring the store
A store is an object that holds the global state of our application. To create the store for this app, navigate to the src directory and create a new folder called app, then create a new file called store.ts inside the app directory.
Open the store.ts file and add the following code to it:
Above, we defined a Redux store by calling the configureStore function and passing an empty reducer object as an argument. The store is saved into the store variable, which is exported for later use.
Next, we will use the Provider component from the react-redux library to connect the React component to the store object that was exported from the previous code.
Open the main.ts file and update it with the following code:
In the code above, we used the Provider component to connect our app to the store so that all the components can access it within the application.
Creating the components
In this part, we will create all the components that make up the app we are building. Let’s start by replacing the entire content of the src/index.css file with the following code:
The NavigationBar component
In the src directory, create a new folder called features. Redux recommends organizing the logic of the app into the features directory. In the feature directory, create a folder called navigations. The navigations folder will contain the components related to the app navigation, as well as a single file that uses the createSlice API for the navigation feature (navigationSlice which will be created later).
The navigations folder will house the components responsible for the app’s navigation, along with a single file that uses the createSlice API for the navigation feature (navigationSlice, which will be created at a later stage).
Now, we are ready to create the NavigationBar component. To do this, create a new file named NavigationBar.tsx inside the features directory and add the following code to it:
We defined a functional component called NavigationBar that renders a navigation bar for our app, with Blogs and Add New navigation items on the right-hand side and a Favorites navigation item on the left-hand side.
The AddNewPost component
To add a new post, we will create a new component called AddNewPost. However, before proceeding with the creation of the component, we must first create a typing file that will be used to define the structure of the new post. Start by creating a directory named typings in the src folder, then create a new file named index.ts. You can then include the code below within the file:
We defined a new TypeScript interface called IPost which has five properties: id, title, content, voteCount, and isFavorite. The id and voteCount properties are numbers, the title and content properties are strings and the isFavorite property is a boolean.
In the features directory, create a new folder called posts. Inside the posts folder, create a new file called PostInputForm.tsx, and add the following code to it:
We defined a new component called PostInputForm that renders a form for creating a new post. The form includes an input field for the title, a text area for the content, and a submit button. This component will also be used whenever a post needs to be modified.
Create a new file in the features/posts directory called AddNewPost.tsx and then add the following code to it:
We created a component called AddNewPost that renders a form for creating a new post, using the imported PostInputForm component that was created previously. The component uses the useState hook to create two state variables - title and content, which are initialized with default values “Blog Title” and “Blog Details”. The component also defines a function called submitPost which is passed as a prop to the PostInputForm component.
We will handle the submitPost function later in this tutorial.
The BlogCard component
Each blog content on the homepage will be rendered in a card. In this part, we will create a new component that will be used to render each post on the homepage. In the features/posts directory, create a new file called BlogCard.tsx and add the following code to it:
This component takes in a single prop called posts, which is expected to be an array of post objects, then uses the map function to iterate over the post array and render a card element for each post.
Each card element includes a header section, a body section, and a bottom section. The header section has a pencil icon to edit a post and a cross icon to delete a post. The body section includes the post’s title, truncated to 150 characters with an ellipsis if it’s longer, and the post’s content, truncated to 120 characters with an ellipsis if it’s longer. The bottom section has a heart icon, which will be used to add or remove a post from favorites, and a section for voting, which has an upvote arrow, a vote counter, and a downvote arrow. Each card also has a key prop which is set to the post’s id.
The NoPosts component
The NoPosts component will be rendered whenever the post array is empty. In the component features/posts directory, create a new file called NoPosts.tsx and add the following code to it:
This component will render a card that indicates that the user has not created any blog posts. The component has a heading tag that says “You have not created any blog posts” and a button that says “Add New”. The button will be handled later in this tutorial.
The AllPosts component
This component will be used to render all the user posts. Create a new file called AllPosts.tsx in the features/posts directory, and add the following code to it:
We created a new component called AllPosts that will be used to render a list of all blog posts. The component imports BlogCard and NoPosts components. If the blog post array is empty, it renders the NoPosts component. Otherwise, it returns the BlogCard component.
The EditPost component
The EditPost component will be rendered anytime an existing post needs to be modified. In the features/posts directory, create a new file called EditPost.tsx and add the following code:
We created a new component called EditPost. For now, we initialize the two state variables - title and content, with empty strings as their initial values. We also define a function called updatePost which is triggered whenever the form is submitted. We will handle this function later in this tutorial.
The NoFavoritePosts component
Let’s create another component called NoFavoritePosts. This component will be rendered on the favorites page if no post has been added to the favorites list.
Create another file in the features/posts directory called NoFavoritePosts.tsx and add the following code to it:
The FavoritePosts component
The FavoritePosts component will be used to display every post that has been marked as a favorite. Create a new file in the features/posts directory called FavoritePosts.tsx and add the following code to it:
The ViewPostDetails component
The ViewPostDetails component will be used to view the details of a selected blog post. To create the ViewPostDetails component, we will create a new file in the features/posts directory called ViewPostDetails.tsx and add the following code to it:
The Footer Component
In the src/fearures/posts file, create a new component called Footer.tsx open it, and add the following code to it:
Implementing the navigation feature
What is a slice in Redux?
Let’s gain some understanding of what a slice is before we begin creating the necessary slices for this application.
Slices is a powerful feature of Redux that make it easier to manage complex states, write clean and modular code, and avoid common pitfalls of state management. It is created using the createSlice function provided by Redux Toolkit, which generates a reducer function, actions, and action creators for the slice.
Slices help simplify the process of writing Redux logic by allowing you to work with smaller parts of your state tree instead of having to manage the entire state at once. It can make your code more modular, easier to test, and reduce the risk of errors caused by unintentional state mutations. Each slice has a unique name and a set of reducers that specifies how the slice should be updated when an action is dispatched. Actions generated by a slice are automatically assigned a type that includes the slice’s name, making it easier to track which slice is responsible for a particular action.
Creating the navigation slice
Before creating the navigation slice, let’s create a new type called INavigationState below the IPost interface in the typings/index.ts file:
We defined a new TypeScript interface called INavigationState that defines a property called currentComponent. The currentComponent property can have one of five possible string values: AllPostsComponent, AddNewPostComponent, FavoriteComponent, EditPostComponent, or ViewPostComponent.
After that, we will create a new file in src/features/navigations called navigationSlice.tsx and add the following code to it:
In the code above, we created a Redux slice that will be used to handle the navigation in our app.
We used the createSlice function from the “reduxjs/toolkit” library to create the navigationSlice, which takes in the initial state (i.e., initialState), an object of reducer functions (i.e., switchToAllPostsComponent, switchToAddNewPostComponent, switchToFavoriteComponent, switchToEditPostComponent, and switchToViewPostComponent) and a “slice name” (i.e., navigations) then we exported the action creators automatically generated by the navigationSlice function and the selector function (i.e., selectCurrentComponent) that can be used to access the current component (i.e., currentComponent) from the global state.
With the createSlice function in Redux, we can write reducers that appear to mutate the state but actually don’t. It is because createSlice uses the Immer library to detect changes to a “draft state” and creates a new immutable state based on those changes. So, we get the benefit of writing reducer logic that looks like it’s mutating the state but without the actual mutations that can lead to unexpected behavior in our application.
Open the src/app/store.ts file, import the navigation reducer exported from the navigationSlice function, and then pass it to the store object like this:
useDispatch and useSelector hooks
The useDispatch and useSelector are two hooks provided by the react-redux library that enable components in a React application to interact with the global Redux store.
The useDispatch hook is used to dispatch actions to the Redux store. When an action is dispatched, it triggers a state update in the store, which in turn causes React components that depend on the changed state to re-render.
The useSelector hook is used to select a part of the state from the Redux store. It takes a function that returns a slice of the Redux store’s state and returns that slice of state to the component that called it.
In the src/apps directory, create a new file called hooks.ts, open it, and add the following code:
We defined two new hooks that wrap the original useDispatch and useSelector hooks. These new hooks are called useAppDispatch and useAppSelector. The useAppDispatch hook returns an instance of the useDispatch hook with the AppDispatch type specified as the generic argument. The AppDispatch type represents the type of the dispatch function returned by the Redux store.
The useAppSelector hook is a strongly-typed version of the useSelector hook that takes the RootState type as an argument. It ensures that the selected state is of the correct type and avoids type errors.
These new hooks will be used throughout the app instead of the original useDispatch and useSelector hooks to provide stronger type safety and to ensure that the correct types are used.
Open the src/features/navigations/NavigationBar.tsx file and overwrite everything in the NavigationBar component with the following code:
We first imported the custom hooks useAppDispatch and useAppSelector that we had previously created in the hooks file.
When a navigation link is clicked, the useAppDispatch function will be used to dispatch an action to the store to change the current component.
The useAppSelector hook retrieves the current component from the store and assigns it to the currentComponent variable. Depending on the value of currentComponent, the color of the current navigation item will be changed to blue. For instance, if currentComponent is equal to “AllPostsComponent”, the “nav-item active” class will be rendered, otherwise only the “nav-item” class will be rendered.
To view all the components in action, replace the contents of the App.tsx file with the following code:
We used a series of conditional statements (ternary operators) to render the appropriate component based on the value of currentComponent. For example, we render the AllPosts component if currentComponent is equal to “AllPostsComponent”, EditPost component if currentComponent is equal “EditPostComponent” and so on. If none of the conditions are met, we return null. Also, we render NavigationBar and Footer components, which are displayed on every screen. The rendered component is wrapped in a <section className="card-container"> element.
Create a new post
A component has been created for accepting new post input, however, the feature to save the post into the state is yet to be implemented.
Let’s create a new file called postSlice.ts in the src/features/posts directory and add the following code to it:
In the code above, we defined the initialState, which is an object with a property allPosts that is an array of blog posts. Then we create the postSlice function using the createSlice function from the @reduxjs/toolkit library. The name of the postSlice function is “all-posts”. The postSlice function has a reducer called saveBlogPost, which will be dispatched anytime we need to save a new post. The saveBlogPost reducer takes the state and an action object as its arguments. The action object has a payload property containing the new post that will be pushed into the state array.
We also create a selector function called selectAllPosts, which takes the whole state as an argument and returns the posts property of it. We will call the selectAllPosts anytime we need to fetch all the posts. Lastly, the slice exports the postSlice.reducer which is the generated reducer function as the default export.
In the src/app/store.ts file, import the post reducer, and add it to the store object:
We are now ready to start saving a new post.
Open up the AddNewPost component and update it with the following changes to save a new post:
We imported the useAppDispatch hook, as well as two action creators named saveBlogPost and switchToAllPostsComponent from the “postSlice” and “navigationSlice” files.
When the user submits the form, the submitPost function is called, which prevents the default form submission behavior and creates a new IPost object using the current state of the input fields. The saveBlogPost function from the postSlice slice is then dispatched with the new post as its argument. Finally, the switchToAllPostsComponent function from the navigationSlice slice is dispatched to switch the app’s current view to the list of all posts.
Let’s update the NoPost component to switch to AddNewPost component whenever the “Add new” button is clicked:
We have implemented the functionality to save new blog posts, but we are currently unable to view them since the “view all posts” feature has not yet been implemented. In the next section, we will update the AllPosts component to display all the posts.
Fetching all the Posts
To retrieve all posts in the app, we will update the AllPosts component to fetch all the available posts from the store and render them.
Open the AllPosts.tsx and update it with the following code:
First, we import the BlogCard and NoPosts components, as well as the useAppSelector and selectAllPosts functions from the postSlice file.
The component first calls the useAppSelector hook with the selectAllPosts function to get the allPosts array from the Redux store. If the allPosts array is empty, the component renders the NoPosts component. Otherwise, it renders the BlogCard component with the allPosts array passed in as a prop.
The BlogCard component will then render each blog post in the allPosts array as a separate card.
Now we can update the BlogCard component with the following changes to display each post on a card:
Upvoting and downvoting a post
We’ll create two reducer functions, namely upvotePost and downvotePost in the postSlice, which will be used for upvoting and downvoting a post, and the resulting action creators will be exported.
Open the postSlice.tsx file and update it with the following changes:
The upvotePost reducer function takes the current state and a payload containing a post ID and returns a new array where the post with the matching ID has its voteCount property incremented by 1 using the map method. The downvotePost reducer, on the other hand, behaves similarly to the upvotePost reducer, but instead of increasing the voteCount property, it decreases it by 1 for the selected post.
Note that the state.allPosts array was directly modified. It is made possible by createSlice, which allows us to write “mutating” logic in reducers.
We need to modify the BlogCard component so that when a user clicks on the upward arrow icon, the post is upvoted, and when thy click on the downward arrow icon, the post is downvoted.
Open the BlogCard.tsx file and update it with the following changes:
Add and remove a post from favorites
To enable the addition or removal of a post from favorites, we will create a new reducer function called toggleFavorite. We will also export the action creator for this function so that it can be used in other parts of the application as needed.
Go to the postSlice.ts file and update it with the following code:
In the code above, we defined a reducer function named toggleFavorite that toggles the isFavorite property of a blog post. The function takes the current state and an action containing the ID of the post to toggle. It creates a new array of updated posts by mapping over the existing posts array and toggling the isFavorite property of the post with the given ID. Finally, the function updates the state’s allPosts property with the new array of updated posts.
Let’s update the BlogCard component to call the toggleFavorite function with the ID of the post anytime a user clicks on the favorite icon on a post.
Open the Blog.ts file and modify it with the following additions:
Viewing the post details
To display the details of a post, we will create a new object called currentPost. The logic behind viewing the details of a post is simple. Whenever a user clicks on a post, the post will be saved to the currentPost object, and the ViewPostDetails component will be rendered immediately. Once the ViewPostDetails component is rendered, it will retrieve the post stored in the currentPost object and display its title and contents.
Open up the postSlice.ts file and make the following changes to it:
Firstly, we added a new property called currentPost to the initialState. Then we defined a reducer function called setCurrentPost that takes in the current state of the store and an action, which has a payload property containing the post selected by a user. The reducer function updates the currentPost property of the state to the post object contained in the action payload.
The reducer function will be used to update the state with the post the user clicked on so it can be displayed in the ViewPostDetails component.
Now we can update the ViewPostDetails component to display the post title and contents stored in the currentPost object once it’s rendered:
In the BlogCard component, we will create a function called viewDetails. This function will take in the post that a user clicks on as its parameter. When called, the function will dispatch two actions:
setCurrentPost(post): this action sets thecurrentPoststate in the store to the post passed as a parameter toviewDetails.switchToViewPostComponent(): this action sets thecurrentComponentstate toViewPostComponent.
The viewDetails function will then be invoked whenever a post is clicked on.
Open the BlogCard.ts file and update it with the following additions:
Modify a post
In order to modify an existing post, a new reducer function called updateBlogPost will be created. Open the postSlice.ts file and update it with the following changes:
The updateBlogPost function first maps through all the blog posts in state.allPosts array. If it finds the blog post that matches the id provided in the payload, it creates a new object with the same properties as the original post, but with updated title and content properties, using the values provided in the payload.
If it doesn’t find the post with the matching id, it returns the original post object.
After all the posts have been mapped through, the state.allPosts array is updated to the new array of updatedPosts.
Launch the EditPost.tsx file and update it with the following additions:
We created a modifyPost function to handle the form submission when a user modifies a post. Firstly, it dispatches updateBlogPost action with the updated post title and content. Then, it dispatches switchToAllPostsComponent action to switch to the AllPosts component.
Let’s modify the BlogCard component to enable switching to the EditPost component and rendering the PostInputForm component with the post data when a user clicks on the pencil icon on a post.
Open the BlogCard.tsx file and update it with the following changes:
We created a new function called editBlog that takes a post parameter. Inside the function, two actions are dispatched. The first dispatched action is setCurrentPost, which sets the currentPost object to be the post passed as an argument. The second dispatched action is switchToEditPostComponent, which switches the current component to the EditPost component. The editBlog function is invoked once a user clicks on the pencil icon.
Deleting a post
Deleting a post from the state is a straightforward process. All we need to do is obtain its id and dispatch an action to delete it.
Open the postSlice.ts file and update it with the following additions:
We defined a reducer function called deletePost that takes the state and actions parameters. The payload property of the actions parameter is expected to contain the id of the post to be deleted. Inside the function, a new array of updated posts is created by filtering the allPosts array in the state. The filter method returns a new array with all elements that meet a certain condition defined in the callback function. In this case, the condition is that the id of the post should not be equal to the payload value.
Finally, the allPosts property in the state is updated to the new array of updated posts, effectively removing the post with the matching id from the list.
To enable the deletion of a post, the reducer function must be dispatched when the delete icon (x) is clicked. To achieve this, add the following updates to the BlogCard component:
Fetching all favorite posts
To fetch all the favorite posts in the app, we will create a selector function that will be used to retrieve all the posts marked as favorite.
Add the following updates to the postSlice.tsx file:
We defined a selector function named selectAllFavoritePosts that takes the state as input and returns an array of all the posts in the allPosts array that have their isFavorite property set to true.
The filter function is used to iterate over each element in the allPosts array and returns a new array of only the posts that pass the condition of having isFavorite set to true. The returned array contains only the favorite posts.
Make the following changes to the FavoritePosts component:
Now, whenever the FavoritePosts component is rendered, the selectAllFavoritePosts function will be invoked to fetch all the favorite posts, which will then be displayed on the screen.
Next, we’ll update the NoFavoritePosts so that whenever a user clicks on the “Add a post to your favorites” button, the AllPosts component will be rendered:
Summary and next steps
In this tutorial, we successfully created the front-end part of a blog application using React and the latest version of Redux Toolkit. The app includs various features such as navigation, post creation, editing and deletion, upvoting and downvoting, and adding and retrieving posts to favorites.
Moreover, we used the createSlice function to write reducer logics that appeared to mutate the state but without actually mutating it. The Immer library was used by the createSlice function to identify changes to a “draft state” and generate a new immutable state based on those changes.
So far, our application has exclusively used synchronous logic. When actions are dispatched, the store runs the reducers, calculates the new state and the dispatch function completes. Nevertheless, it is recommended that you familiarize yourself with Middleware and Side Effects in Redux because the Redux store is unaware of any asynchronous logic. Any asynchronous actions, such as retrieving data from an API or saving a file, must occur outside the store. By learning more about side effects in Redux, you will learn how to write asynchronous logic with Thunk.